I’ve always heard about the art of brewing and how enjoyable and even therapeutic it can be. Recently, I heard that homebrewing classes were being offered at our Chicago office every month—down on our third floor, which is home to Tenth and Blake Beer Company. That is where the brew room is located and the magic happens. MillerCoors and Tenth and Blake encourage beer education—a few other employees have tried their hands at brewing in the room, and have made some unique and tasty beers. So I thought, why not? It can’t be THAT hard right?
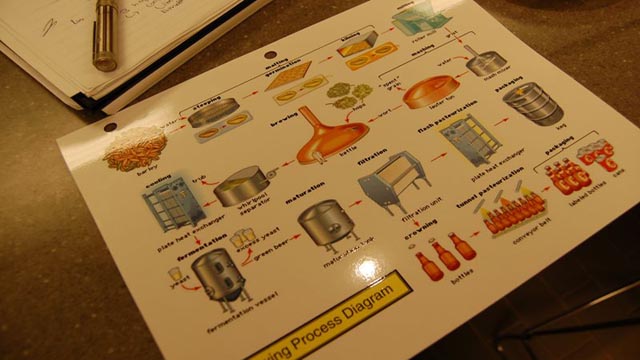
Well, I learned pretty quickly: Brewing is not a simple, two-hour process. It takes several weeks to make a batch that’s ready to drink. It also requires lots of sterilization and meticulousness. We tried to use both skills as much as we could with the resources and space available.
The beer we brewed was a type of brown ale that we dubbed Chocolate Moose. Unsure of how the results would be, we used bits of coca nibs to enhance the ale’s flavor and give it a little twist. Brewing is a fair amount of trial and error and I got to experience that firsthand.
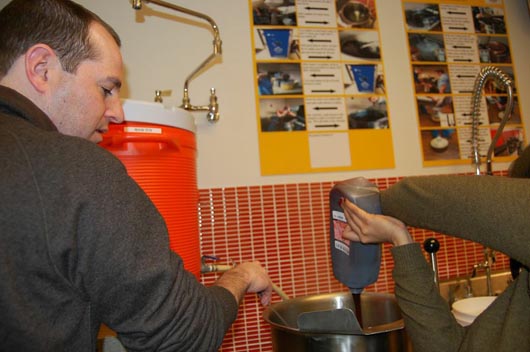
The first step, before we began going through the motions, was to open the pack of yeast. Yeast is actually the primary ingredient where the flavor of beer comes from—rather than fruit or any other added ingredients. We were then acquainted with additional ingredients such as bitter orange peel and coriander, which tend to enhance flavors in beer.
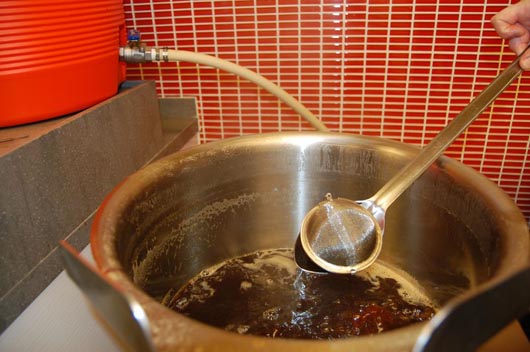
Initially, we heated a few gallons of water and put a bag of grain into the water and let it steep for about 20 minutes. We removed the bag and then added malt syrup and malt extract—the delicious sweet stuff! Once all of this was boiled, we added in three types of hops, one by one, when creating our brew: Golding, Liberty and Willamette hops. Each went in for different amounts of time.
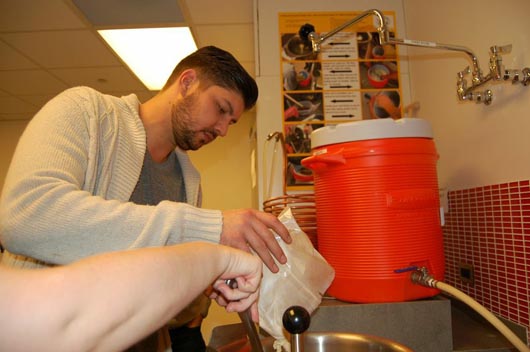
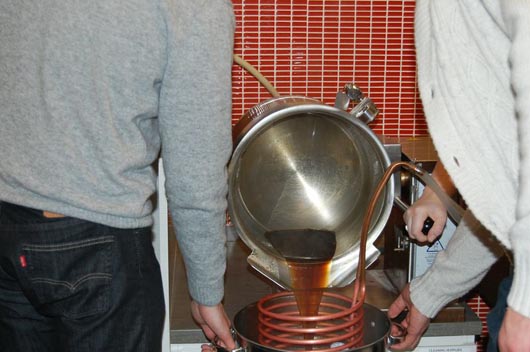
Once the wort (unfermented beer) is cooled, sanitation is the key!
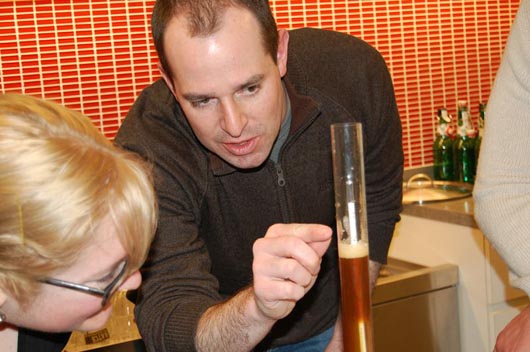
We then added the cooled wort and water and aerated the wort. We checked the beer’s gravity using a hydrometer (this is how alcohol by volume is determined). Last but not least, we added the active yeast, sealed and air-locked the container, and stored it in a warm and dark spot. We let the beer ferment for a few weeks and finally bottled it.
We passed a few bottles around to colleagues and friends, unsure of what their reactions would be. From the reviews we received, adding in the cocoa nibs was a good decision and our beer was actually pretty good! This brewing experience has made me confident in my abilities to crank out something drinkable, and I’m definitely going to try my hand at a few more varieties.
While it’s very ambitious, next on my list is … mango hefeweizen.